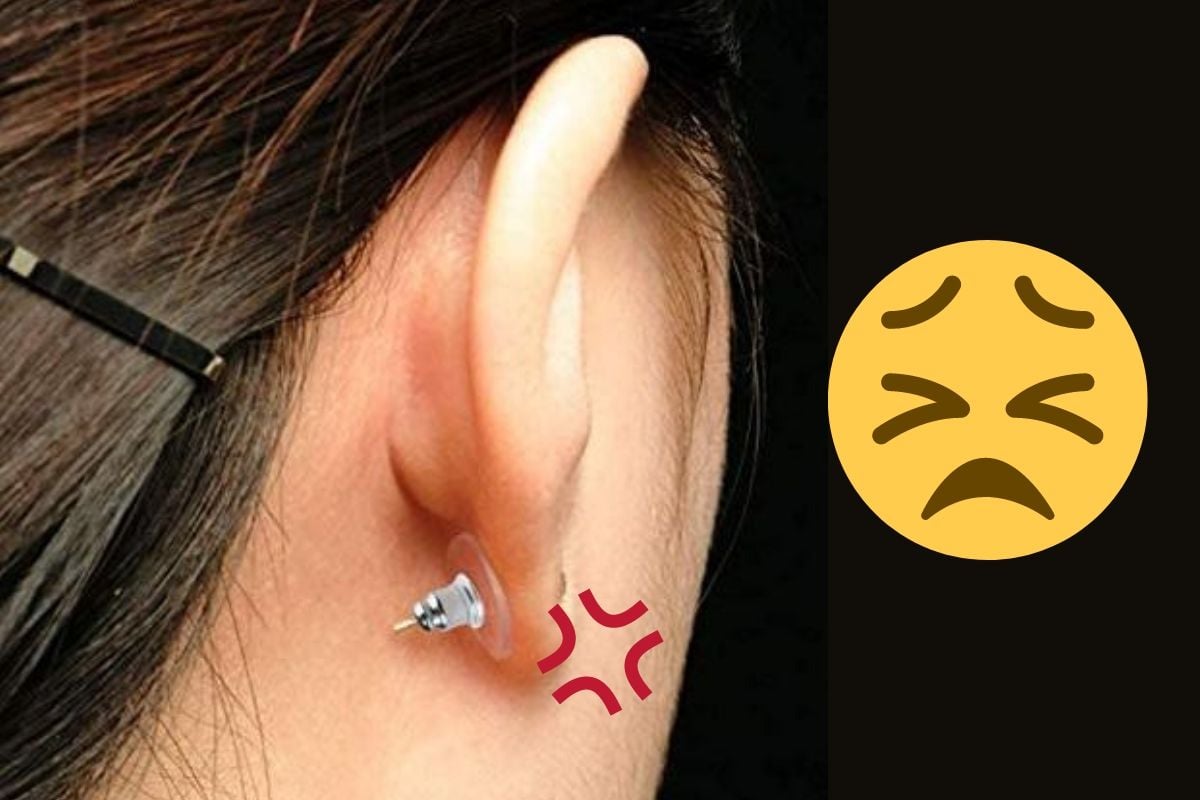
A Stuck butterfly back earring is always annoying. This is the most common type of earring back but somehow also the most notorious accessory when it comes to easy removal. Improper ways to remove it lead to opening up the piercing or damaging earlobe tissue. In this article, we are going to share several easy ways to remove a stuck earring back.
Butterfly Earring Backs : How to Remove When Stuck?
Bear in mind: Removing butterfly earring backs improperly could easily hurt your ear if you go too roughly. Human ears are delicate and you may get inflamed or infected if you hurt the tissues. It is important that you are able to slide off the earring back without hurting the skin, even if it’s just the flap under your ear.
Why are Hard to Remove the Butterfly Back Earrings?
Reason 1: Your Pair of Earrings is New
There are more than one reasons why butterfly earrings back fail to budge when you want them to be removed. The most common reason is it is too new! Usually, when you have a pair of very new earrings, the backs are tight as they are all molded by machines. It takes some time before a tight back gets loosen sufficiently to allow easy transition (putting on/removing).
Avoid putting on a new pair of earrings until you have loosened the earring back enough.
Reason 2: Body Reaction
The second most common reason for stuck earrings is actually the body reaction to the presence of the metal through the skin. This is more commonly observed in people who have just got their ears freshly pierced.
A fresh piercing may be signified as a wound by your body, causing it to heal the wound. The healing process, which involves closing the margins around the piercing, may produce fluids that glue the earring to the skin when dried. This process often causes inflammation, and it might tighten the skin around the piercing itself resulting earring back got stuck.
In this case, it is important to pay close attention to what your ear looks like and to be very gentle when attempting to remove the back. Delayed removal may cause rusting in the earrings and make it even more difficult to take out the stuck earring back. Take your time and avoid forcing the back. Do consult with your physician if there is any blood or inflammation as this may signal an infection in your ear.
3 Easy Steps of Removing a Stuck Butterfly Backs Earring
Before removing any days-old earrings from your ear, it would be best to keep everything as clean as possible.
Firstly, wash your hands with anti-bacterial soap and warm water. Rinse your hands thoroughly and dry with a clean towel.
Secondly, grab a cotton swab or cotton ball and wet it with clean water, then clean it on and around the ear. Make sure the back of the ear is also moistened. Check for any effuse or dirt and repeat if necessary. Dry your ear with a new cotton ball. Apply a new cotton swab, dipped with disinfecting solution such as alcohol sanitizers or hydrogen peroxide, and clean around the piercing. If you feel any stinging or itching, that is normal. Let your ear dry once again.
Thirdly, when trying to take the stud earring off, hold the post of the earring and keep it as straight and stable as possible so it won’t move about while you are pulling the butterfly back. With your other hand, find the long surface of the butterfly back and grip it firmly. Move it about gently to and fro until it begins to loosen. Keep the earring post as stable as possible.

How to take out butterfly earrings back?
When you feel the butterfly back begin to move, feel free to give it a gentle tug so it slides off. We find it easier to remove a stuck butterfly back when you give both sides of the earring a slight pinch, so you can add just enough force without risking hurt to skin tissue or the piercing itself. If you feel any crusting while you are removing the clasp, feel free to dip a cotton swab in warm water and clean around the area.
That crust probably has pus and blood, which can make things sticky and slippery. Not a good place to be when you have something stuck to your ear. In some extreme situations, skin grows over a portion of the clasp as the body tries desperately to close the piercing.
If this seems to be the case and the clasp does not move without extreme pain, do visit your doctor, as the clasp may need to be removed professionally by a physician in a clinic or hospital. This is rare, but it does happen. So make sure you observe your ear carefully for any signs of skin growing onto the earring.
Finally, after successfully removing the stuck clasp, be sure to wipe down the piercing again with soap and water, and a disinfectant. If you have some anti-bacterial cream handy, you can also apply that just to make sure that there won’t be any follow up-swelling.
Don’t pinch or rub the area that is swollen – gently pat dry with a clean towel or some cotton and just let it be.
Avoid touching a painful piercing as this may easily introduce bacteria to the area.
Reminders for First Time Piercing
For those who have their ears pierced for the first time, remember that the “baby studs” or “sports earrings” that are put in place after a piercing are meant to be kept there for several weeks, so you will have a really good piercing afterward.

More posts you may interest:
How to Remove Plastic Discs from Your Earring Backs?
What is the best age for a child to get ears pierced
How To Keep Earring Backs From Falling Off?


